All Grain Brewing
Share
Want to take the next step in brewing and make your own beers from scratch? Awesome! Welcome to a huge variety of grains, hops, yeasts, spices, extracts... the combinations are nearly endless.
So there's a few basic steps. Heating the Strike Water, Mashing, Sparging, Boiling, and Chilling. That doesn't sound so bad, right? I'll explain each step in a bit more detail below.
Strike Water, is really just the water your heating up for your grains to mash in. As an example, my Blood Orange Lager I heat to 65. That's it, that's the whole step. Not too tough eh?
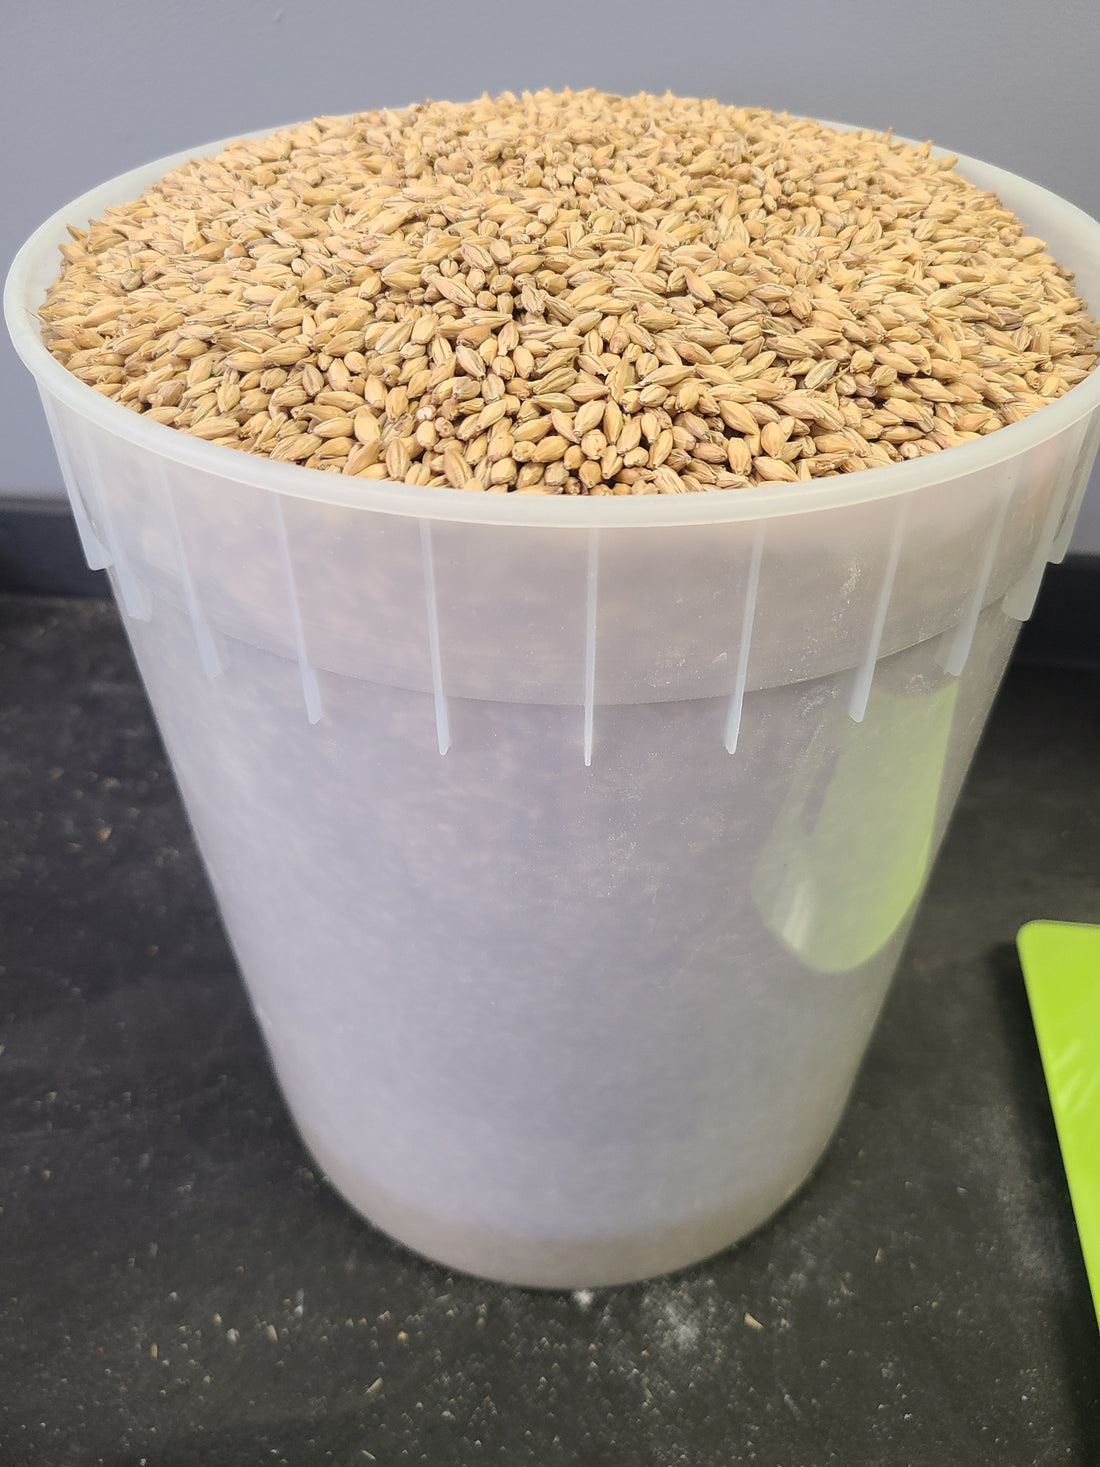
Next up is the Mashing step. So, you add all your grains to the water, mix it up so that you don't have dry clumps of grains, and let it sit in that for what your recipe and style of beer dictate. You want to keep it at or as close to that temperature as possible for the entire time of the mash. Again, pretty easy.
Next up is the Sparge! So, while your mash is happily steeping away, you need to heat up another batch of water to rinse your grains with. Sensing a trend here yet with brewing? Lots of heated water, check. The most popular sparge is a batch sparge, which is just a fancy term for pouring your heated water over your grains to make sure you get all the good stuff off them for your next step... the BOIL!
Yup, you're heating water again, although this time, all the way to a boil. As it comes to a boil, keep an eye on it. You may get a foamy cloud that builds up, and if unwatched it'll boil over, leaving you a rather big mess to clean up later on. During your boil you'll be doing your hop additions, depending on the hops and the bitterness desired you can add them at different stages to achieve different results. Generally, the longer their boiling, the more bitterness you get from them. The shorter time in the boil the more aroma and flavour you'll get. Also, you can add spices and other things like orange or lime peel near the end of the boil to give your beer a boost in flavour.
Ok, now that you've actually done some work in watching a clock and doing all your additions, it's time to chill, the beer that is. This can be done with an ice bath, immersion chillers, counterflow, there's options. The biggest thing is you want to bring it down to the pitching temperature for your yeast as quickly as you can so you don't risk infection. Once you do so, transfer your beer over to a fermentation device and add that yeast! While you're transferring, it's not only ok to kind of slosh it around some, it's actually good to do so.
There, you've now done an all grain batch, you lived to tell the tale, and found out it's not really that scary or intimidating. Sure there's quite a bit more that you can delve into for each step, like water chemistry, timing for hop additions, decoction mashing, but you've made something that's probably pretty enjoyable already. So, just take it at your own pace and when you're ready for the next tier of stepping up your brew day, take it. Until then, relax, enjoy a home brew, and then brew more!